Garbage Collector
Tales from an old nibble
Boox Max 3 as a Raspberry Pi monitor
Starting from scratch #
I like reading books but it is not always convenient to travel with two or more technical books while commuting to the office or travelling to a remote conference (remember those times).
For this reason I lately bought a Boox Max 3, a 13.3" eInk reader that is my travel companion between by bedroom and my office. This is the kind of commuting I’m doing in 2020.
Anyway the Boox is an great machine, here is a review by My Deep Guide on YouTube that covers a lot of the capabilities.
One of the interesting features of this device is that it has a HDMI input port to use it as a monitor. You can take a look at this other video, again by My Deep Guide, that covers this feature and the possibility to use the Boox Max 3 with with a USB-C hub (spoiler alert, you cannot charge the Max 3 while using the USB-C port).
Boox Max 3 as a monitor for the Raspberry Pi #
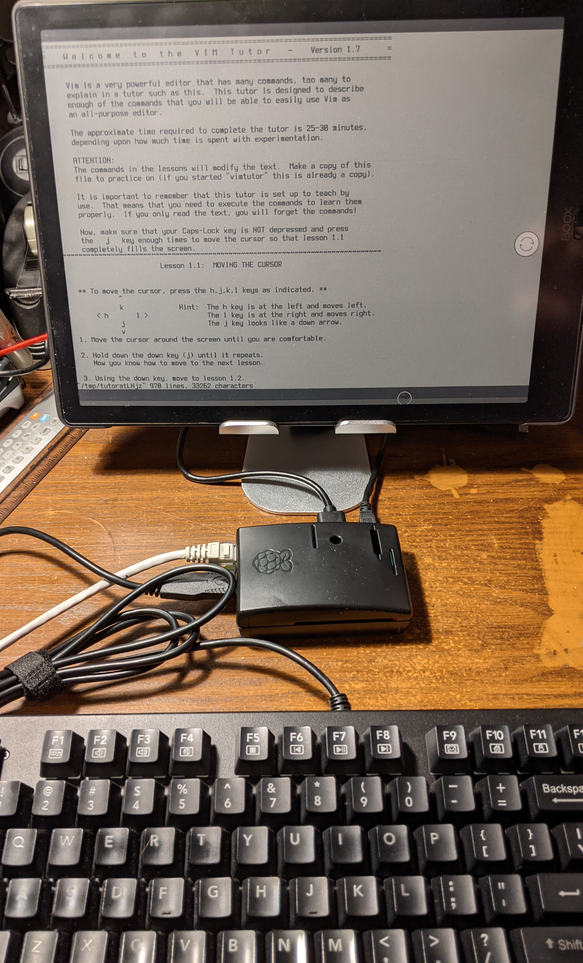
I’m not interested using an eInk as a monitor for a laptop. I had instead the idea to have a distraction-less device to write. Combining a Raspberry Pi, the Boox Max 3 and a mechanical keyboard.
These seems a fancy setup, but having all the pieces laying around it was an easy test to put in place.
RaspberryOS lite #
My idea is to work from the command line, from the terminal, with an editor like vim or emacs. No mouse involved. Something similar to what described in this Reddit post, but with a much larger screen.
First test was to just put a recent image of the OS on a SDCard and test the result with a Raspberry Pi 2. A quick test just to check that I have to use some custom configuration for the screen setup.
Boox Max 3 as a monitor #
Connecting the Max 3 to a mac, I can use it as a monitor with the default resolution of 2200x1560 without having to do anything. Why the Raspberry can’t see it in the same way?
Probably some issue with the frequency (did I say that I couldn’t find any spec on the vendor’s website?).
Some research on the Web returned a video on youtube with some parameters to use in the Raspberry’s config.txt:
| |
It is a start!
Note I’m not suggesting to try random parameters seen on the web in your devices. This was an hint that I should look in Raspberry’s documentation to check what those parameters are and if they make sense!
config.txt #
Raspberry Pi’s documentation has a video section that is quite comprehensive on the options available in config.txt to configure the HDMI output of these boards.
My suggestion is to start asking to the monitor if it can provide some additional information of what is does support.
To do this we can use the tvservice command line utility to log the information of the connected monitor to a file:
| |
We can then convert this file with edidparser to generate a readable text file:
| |
Note These utilities are pre-installed in RaspberryOS, including the lite. I was as surprised as you reading about these utilities on this article
The interesting part, at least for me, are:
| |
After trying some of the options reported in the edid.txt file I decided to try setting up my custom configuration with a custom mode:
| |
As we saw in the previous section we can use the hdmi_cvt parameter to configure the screen. In my case I used the monitor resolution and a 25Hz refresh rate… a bit low for a normal monitor, but not if you are driving an eInk.
So the final configuration that I used is:
| |
I’ve done some other customization on the font and the shell, but at the end, this is unlikely to be a setup that I want to use long term.
I like the idea of a simple, single task, device to use to write with little or no distraction. But this is not it. I’ll need to try something different. Let me know if you have any suggestion, DM are open on my twitter account.
Edit. Last minute addition #
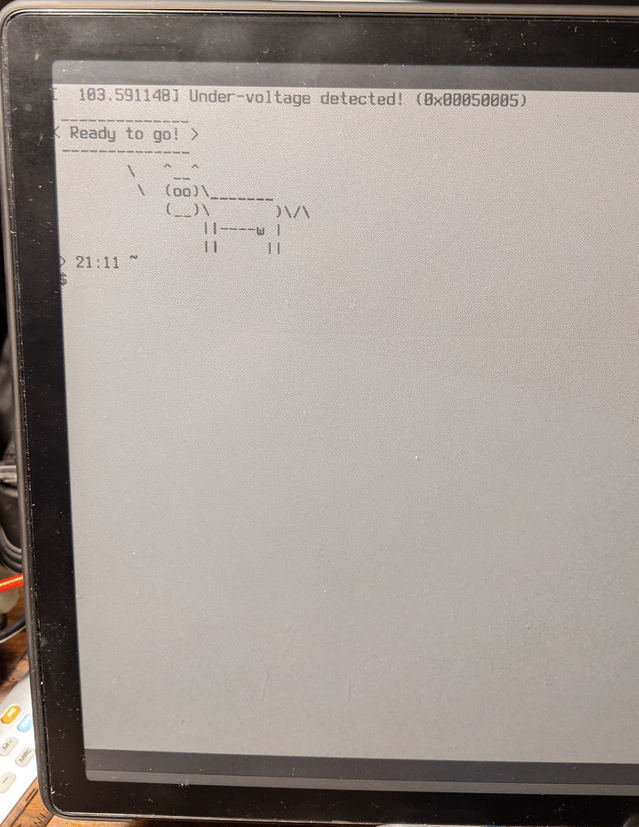
I forgot to post images of the result, as I wrote, I was hoping for something better.


